Crochet guide
How to crochet C2C: increase, straight and decrease rows
Updated by Khokhar Sab
C2C is worked in small tiles of 3 double crochet set on the diagonal. You start with one tile in a corner and add one tile to every row until the piece is as wide as you want. For a rectangle, you then decrease on one edge and increase on the other. Finally you decrease on both edges until one tile is left in the opposite corner.
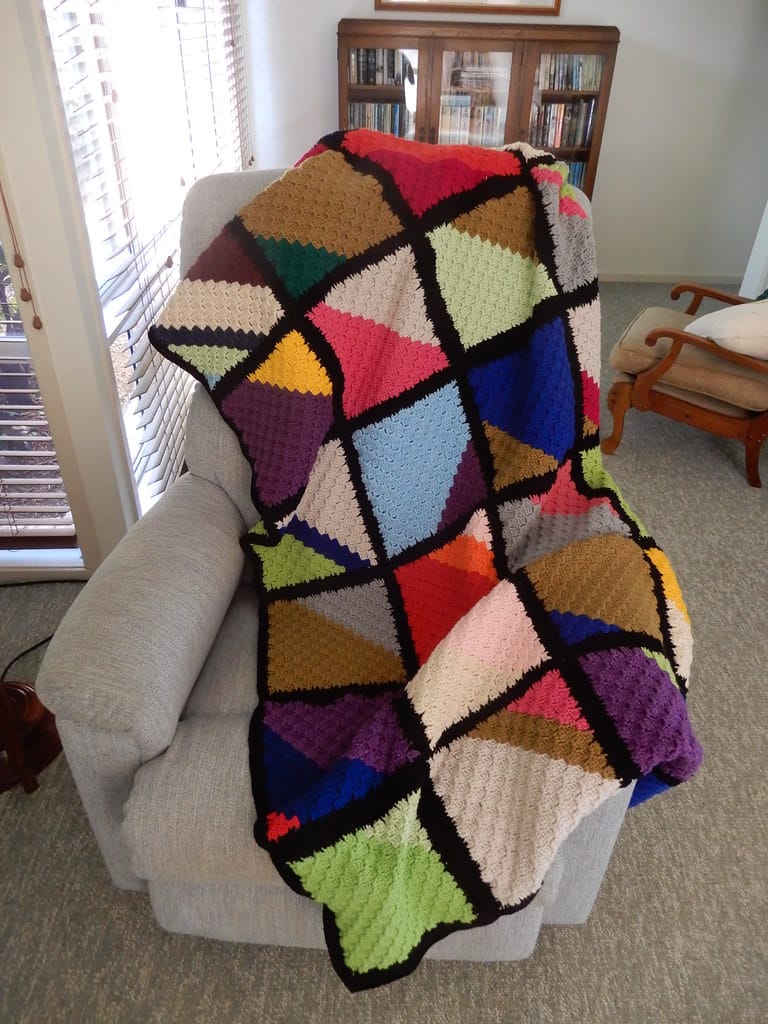
How C2C crochet works
C2C, short for corner to corner, builds a square or rectangle out of tiles. Each tile is a chain-3 space with 3 double crochet next to it, and it looks like a small block set at an angle. You work in diagonal rows, from one corner of the blanket to the opposite corner.
Every C2C piece goes through the same three phases. The rows grow, then hold steady, then shrink. A square skips the middle phase.
Yarn and hook for C2C
Any yarn works, as long as the hook suits it. Sarah Maker notes that C2C patterns are usually written for DK or worsted yarn, with a hook between 4 mm and 6.5 mm. The crochet hook size chart lists the sizes in that range. A stitch marker helps too. Bella Coco suggests marking the start or end of each row, which matters most once you begin decreasing.
Making the first tile
- Chain 6.
- Double crochet in the 4th chain from the hook.
- Double crochet in each of the next 2 chains.
That is row 1: one tile. The 3 chains you skipped stand up at one side and form the chain-3 space the next row joins into.
Increase rows: growing on both edges
Each increase row adds one tile, so row 2 has 2 tiles, row 3 has 3, and so on.
- Turn. Chain 6, then double crochet in the 4th chain from the hook and in the next 2 chains. That is the new tile at the start of the row.
- Slip stitch into the chain-3 space of the next tile from the row before.
- Chain 3, then work 3 double crochet into that same chain-3 space.
- Repeat steps 2 and 3 in each tile to the end of the row.
The chain 6 at the start is what makes the row one tile longer. If your tiles look loose, Sarah Maker suggests chaining 5 and starting in the 3rd chain from the hook instead.
For a square, Sarah Maker says to start decreasing when the piece reaches its widest point, which is the diagonal of the square.
Straight rows for a rectangle
Keep increasing until the piece reaches the short side of the blanket on one edge. From then on, a rectangle needs rows that keep the same number of tiles.
- On the edge that has reached full size, decrease.
- On the edge that still needs length, keep increasing.
One edge loses a tile and the other gains one, so every straight row has the same count. The piece grows longer without getting any wider. Some patterns call these "straight", "even" or "shift" rows.
Decrease rows: closing the last corner
Once both edges reach full size, decrease on both ends of every row until one tile is left.
- At the start of the row, don't chain 6. Instead, slip stitch across each of the 3 double crochet of the last tile and into its chain-3 space.
- Chain 3 and work 3 double crochet into that chain-3 space.
- Continue with slip stitch, chain 3 and 3 double crochet in each tile.
- After the last tile, slip stitch into the next chain-3 space, but don't chain 3 or make a tile there. Turn and start the next decrease row.
Each decrease row has one fewer tile than the row before. The last row is a single tile in the far corner.
How many C2C rows: a worked example
The numbers come from a swatch. Say a C2C swatch of 5 × 5 tiles measures 4 inches across after blocking. One tile is 4 ÷ 5 = 0.8 inches.
For a 50 × 60 inch blanket, you need 50 ÷ 0.8 ≈ 63 tiles across and 60 ÷ 0.8 = 75 tiles down. The finished blanket measures 50.4 × 60 inches, because you can only add whole tiles.
The total row count is tiles across plus tiles down, minus 1, since the two edges share the corner tile: 63 + 75 − 1 = 137 rows. They split like this:
| Phase | Rows | How many rows | Tiles in each row |
|---|---|---|---|
| Increase on both edges | 1 to 63 | 63 | 1, 2, 3 … up to 63 |
| Straight (increase one edge, decrease the other) | 64 to 75 | 12 | 63 every row |
| Decrease on both edges | 76 to 137 | 62 | 62 down to 1 |
The short side has 63 tiles, so you increase for 63 rows. The difference between the sides, 75 − 63 = 12, is the number of straight rows. Decreasing takes one row fewer than increasing, 62, because the widest row belongs to the increase phase.
Make the same blanket square, 50 × 50 inches, and it becomes 63 × 63 tiles in 125 rows: 63 up, none straight and 62 down.
Yarn scales by tiles. That swatch used 14 yards for 25 tiles, or 0.56 yards per tile. The blanket has 4,725 tiles, so 4,725 × 0.56 plus 10% spare comes to about 2,911 yards, or 15 skeins of 200 yards. The C2C calculator does this for your own swatch and size.
Tiles and rows for common blanket sizes
With the same swatch (5 tiles to 4 inches, 14 yards) and a 10% buffer, the calculator gives these counts. Sizes come from the blanket size chart.
| Blanket | Tiles | Rows | Total tiles | Yards | 200 yd skeins |
|---|---|---|---|---|---|
| Stroller (30 × 35 in) | 38 × 44 | 81 | 1,672 | 1,030 | 6 |
| Crib (45 × 60 in) | 56 × 75 | 130 | 4,200 | 2,588 | 13 |
| Lapghan (36 × 48 in) | 45 × 60 | 104 | 2,700 | 1,664 | 9 |
| Throw (50 × 60 in) | 63 × 75 | 137 | 4,725 | 2,911 | 15 |
| Twin (66 × 90 in) | 83 × 113 | 195 | 9,379 | 5,778 | 29 |
| Queen (90 × 100 in) | 113 × 125 | 237 | 14,125 | 8,701 | 44 |
Rows grow with the sides, but tiles grow with the area. A queen has about 2.9 times as many rows as a stroller blanket and about 8 times as many tiles. Each row of a big blanket is longer, so row count alone undersells the work. Plan time and yarn by tiles.
Mini C2C and treble C2C
Standard C2C uses double crochet. Nicki's Homemade Crafts describes two variations:
- Mini C2C uses half double crochet. You chain 5 instead of 6 to start each increase row. The smaller tiles fit more detail into the same area, which suits detailed pixel graphs.
- Treble C2C uses treble crochet. You chain 7 instead of 6, and the tiles come out bigger and bolder.
Tile size changes with the stitch, so make a new swatch for either one before you work out the size.
Following a C2C graph
A C2C graph is a grid of colored squares. Each square is one tile. Start at the bottom right corner, which is row 1, and read each diagonal line of squares as one row. Rows change direction each time, so mark which way each row runs.
- Change color before you finish the last double crochet of the tile before the new color. Pull the new color through the last loops.
- Cross off each diagonal row on a printed copy as you finish it.
- Keep separate small balls for each color patch, so you don't carry long strands behind the work.
Sarah Maker adds a few rules for color work. Make the change just before you finish the third double crochet of a tile. When a color block spans several rows, leave the old color attached and pick it up again on the next row. Carry yarn behind the work only for a short distance, 1 or 2 tiles, and only when the carried color will touch a tile of the same color. Bobbins or clips keep several colors from tangling.
Graphs show tiles, so count your graph's squares across and down to get the finished size. Multiply by your tile size: a 60 square wide graph at 0.8 inches per tile makes a piece 48 inches wide.
Tips for neat edges
C2C edges have a small step at every tile. A round of single crochet, or any simple border, straightens them. If you plan a border, see the blanket yarn calculator to add yarn for it.
To weave in ends, Sarah Maker leaves a 6 inch tail and weaves it through the back of the stitches with a tapestry needle, without pulling tight.
Count tiles in every row while you learn. In the increase phase, row number and tile count are the same, which makes mistakes easy to catch. A row counter keeps your place across a long blanket.
Sources
The method above follows Sarah Maker's C2C crochet tutorial, which covers the chain 6 start, slip stitch decreases, rectangles and color changes with photos. The variations come from Nicki's Homemade Crafts' C2C tutorial, and the stitch marker tip from Bella Coco's corner to corner stitch guide.
Video tutorial
"How To Crochet C2C Corner to Corner" by The Purple Poncho, on YouTube. The video loads only when you press play.