Needlepoint guide
How to frame cross stitch: washing, pressing and mounting
Updated by Khokhar Sab
To frame cross stitch, first test the threads for color bleeding. Then wash the piece gently and press it face down on a towel. Stretch it over acid-free foam board or mat board, holding it with pins or lacing on the back. Use a mat or spacers so the glass never touches the stitches, or leave the glass out.
Before you start: leave enough fabric
Framing needs bare fabric around the design to wrap around the board. Mary Corbet of Needle'n Thread advises at least 2 inches on each side. That is why the cross stitch fabric calculator adds a margin to every size it gives.
For example, a design 112 stitches wide and 84 high on 14-count Aida measures 8 × 6 inches. With 2 inches on every side, cut the fabric at least 12 × 10 inches. The mat or frame opening needs to be a little bigger than 8 × 6 so no stitches hide under the edge.
Pick the frame before you cut the fabric
If you already know the frame, plan the fabric around it. The frame opening sets the largest design that shows, and the board inside it needs bare fabric to wrap around. This table uses 14-count Aida and a 2 inch wrap on every side:
| Frame | Design that fills it | Fabric to cut |
|---|---|---|
| 5" × 7" | 70 × 98 stitches | 9" × 11" |
| 8" × 10" | 112 × 140 stitches | 12" × 14" |
| 11" × 14" | 154 × 196 stitches | 15" × 18" |
If you add a mat, the frame needs to be bigger than the design by the mat's width on each side. For other fabrics, the fabric calculator shows how many stitches fit each frame.
Step 1: test the colors
Before any water touches the piece, check that the dyes won't run. Studio Koekoek suggests pressing a wet white cloth or cotton swab against each thread color. If any color comes off on the white, don't wash the piece at all. Skip to pressing and mounting.
Step 2: wash the finished piece
A gentle wash cleans the piece before it goes behind glass. Studio Koekoek's method:
- Fill a bowl with lukewarm water, never hot, and add a few drops of mild soap.
- Soak the piece for 15 to 60 minutes, moving it gently now and then.
- Don't wring it. Lay it on a towel, roll the towel up and press to soak up the water.
Step 3: press it face down
Lay a thick, clean towel on the ironing board and put the piece on it face down, still slightly damp. Iron the back, keeping the iron moving. The towel lets the stitches sink in so the iron doesn't squash them flat, and they keep their raised look. Use a heat setting that suits the fabric.
Step 4: mount it on board
Use acid-free board. Needlework Tips and Techniques recommends acid-free foam core and warns that sticky self-adhesive mount board tends to turn the fabric yellow over time. Cut the board to fit the frame, allowing a little room for the fabric that wraps around its edges.
There are two ways to hold the fabric on the board:
- Pins into foam board. Center the design on the board. Push pins into the edge of the board through the fabric, starting at the middle of each side and working out toward the corners. Line up a row of Aida squares with the board edge to keep the design straight. Fold the corners neatly and pin through both layers.
- Lacing. Fold the fabric edges around the board and lace them together on the back with strong thread, crossing from one side to the other and pulling each pass snug. Lace one direction first, then the other. Mary Corbet laces onto acid-free mat board instead of using tape.
Either way, check the front as you go. The rows of stitches should run straight along the board edges.
A few details from people who frame their own work:
- Cut the board a little small. Lord Libidan's guest tutorial cuts the foam board a few millimeters shy of the frame size, so it still fits once the fabric is folded around it.
- Lace the long sides first. The same tutorial laces the sides before the top and bottom for a flatter finish, starting about 1 cm from the fabric edge. Cut a long length of strong thread, since a weak one can snap as you pull it taut.
- Pad the board. Crewel Ghoul covers the mounting board with a layer of cotton or muslin first. She says it adds a little padding and makes it easier to secure the fabric tightly. She then zigzags 2 strands of floss across the back and whip stitches the folded corners. A curved needle makes this easier.
Sources disagree on adhesive board. Crewel Ghoul uses self-adhesive mounting board under her cotton layer, while Needlework Tips and Techniques warns that self-adhesive board can yellow the fabric over time. Her method keeps the cotton layer between the glue and the stitching.
Step 5: frame it, with the glass off the stitches
Glass is optional. Needlework Tips and Techniques says you don't need it, though it protects a piece from dust and smoke. If you use glass, the rule both sources agree on is simple: it must not touch the embroidery. Keep a gap with one of these:
- a mat (window mount) between the glass and the stitching,
- thin spacers hidden under the frame lip, or
- a shadow box frame, which Mary Corbet uses to leave half an inch or more between the glass and the work.
The Art of Stitch notes that acrylic is lighter than glass and safer for larger pieces.
Put acid-free paper behind the mounted piece, close the frame and seal the back gaps with framer's tape to keep dust out.
How to frame cross stitch without washing
If the color test failed, or the piece is clean and you would rather not risk water, you can still frame it. Press it from the back on a towel with a dry iron and mount it as above. A mat helps here too, since it keeps the glass from flattening any slightly uneven stitches.
Finishing in a hoop instead of a frame
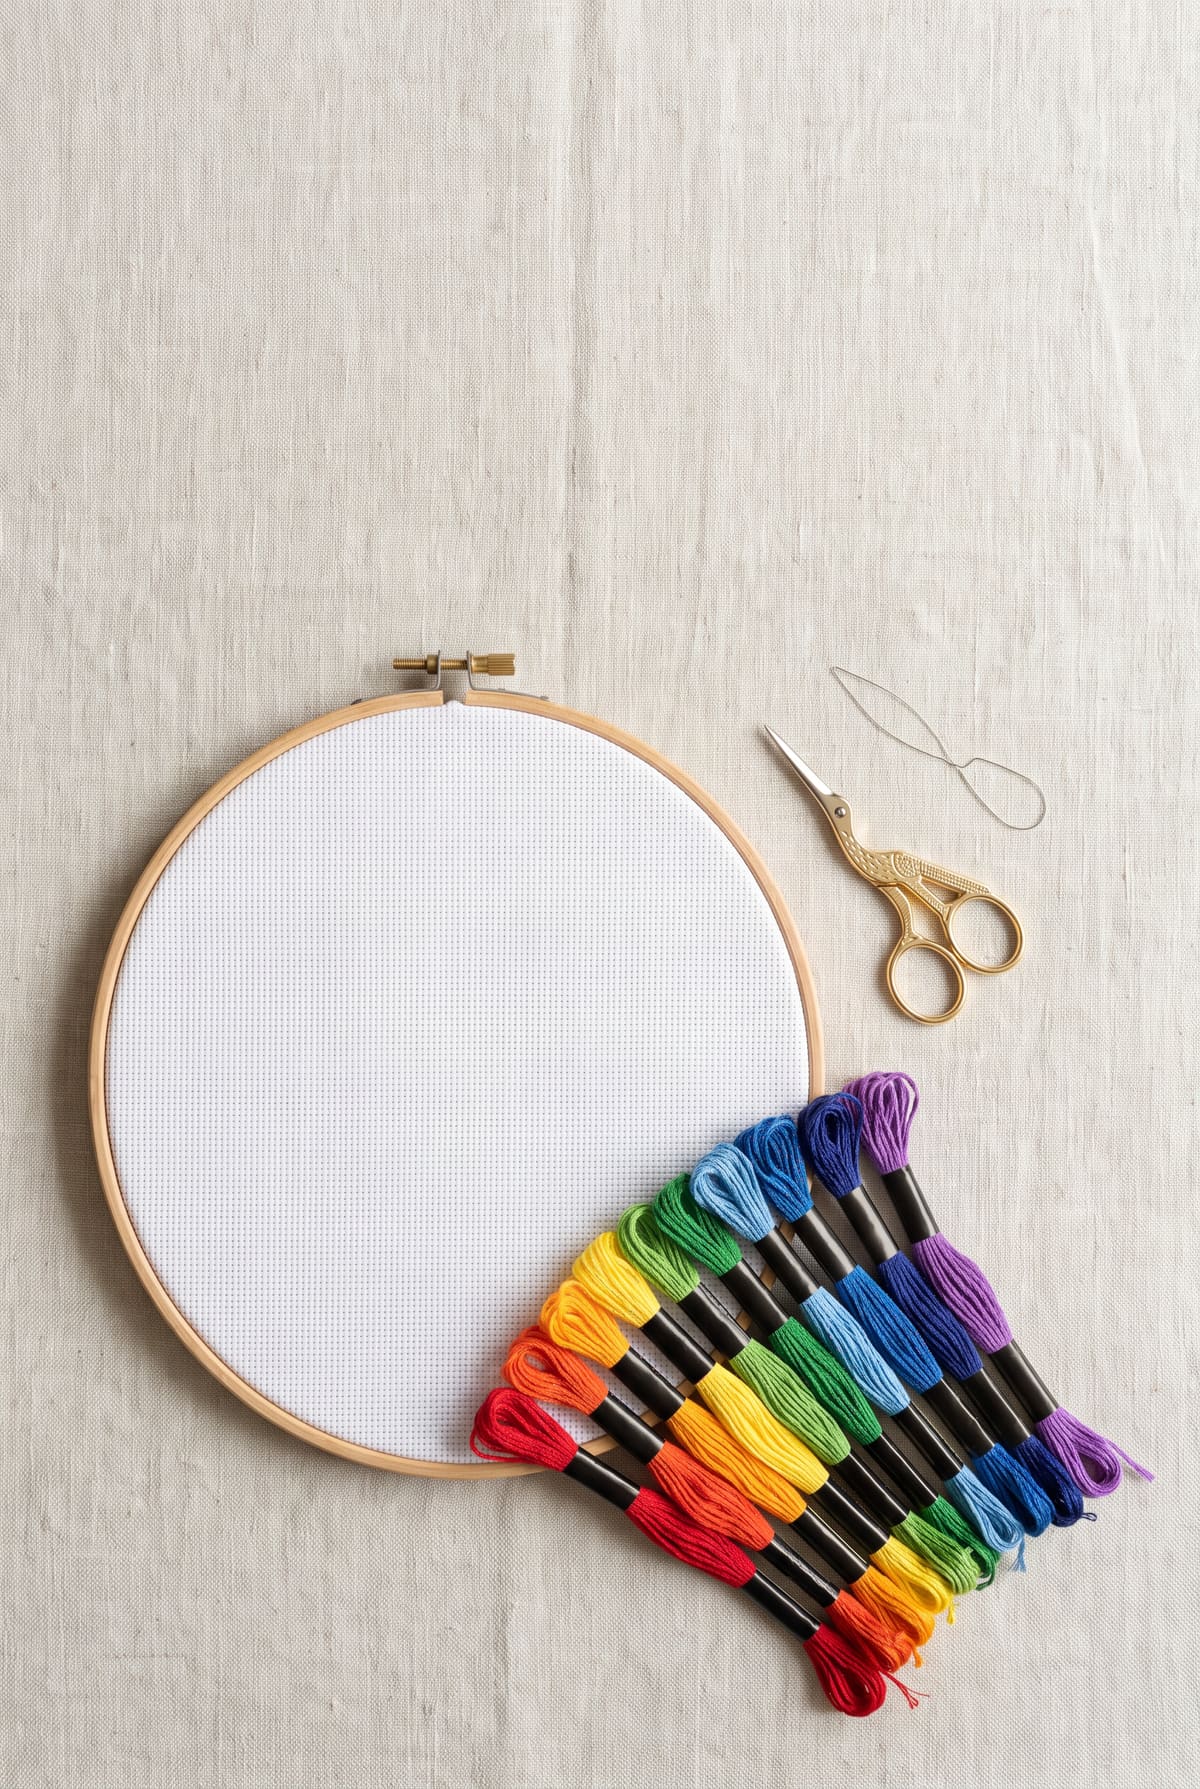
A hoop makes a quick, no-sew frame. Crewel Ghoul's method:
- Choose a hoop with room around the design so you can center it.
- Lay a backing fabric face down, with the cross stitch face up on top. Pick a backing that won't show through the Aida holes.
- Put both layers in the hoop, smooth them and tighten the screw.
- Trim the cross stitch with pinking shears, leaving about an inch. Pinking shears cut a zigzag edge that stops Aida fraying. Trim the backing flush with the hoop.
- Run hot glue around the inner ring and press the fabric edge into it.
For a glue-free version, she stitches a circle of felt over the back instead.
Sources and further reading
Needlework Tips and Techniques walks through framing cross stitch with pins on foam core. Mary Corbet shows lacing and shadow box frames in how to frame a piece of embroidery. Studio Koekoek covers the color test and washing in how to wash your cross stitch project. Lord Libidan hosts a step-by-step framing tutorial with pins and lacing. Crewel Ghoul shows a padded board in how to frame cross stitch and hoop finishing in how to finish cross stitch in a hoop. The Art of Stitch lists framing materials in how to frame your cross stitch. New to the craft? Start with the beginner's guide to cross stitch.
Video tutorial
"How to wash and frame your finished cross stitch by Bothy Threads" by Bothy Threads, on YouTube. The video loads only when you press play.